Gears of War: E-Day Act 1 collectibles: 13-item checklist
Find the 13 reported Act 1 collectibles by chapter using concise landmark clues.
Applies to: Launch campaign Act 1 · text route not independently play-tested
The short answer
Two independently published chapter routes identify 13 Act 1 collectibles. Check the newsstand, police station, recruitment center, supermarket and clinic route before leaving each chapter.
On this page
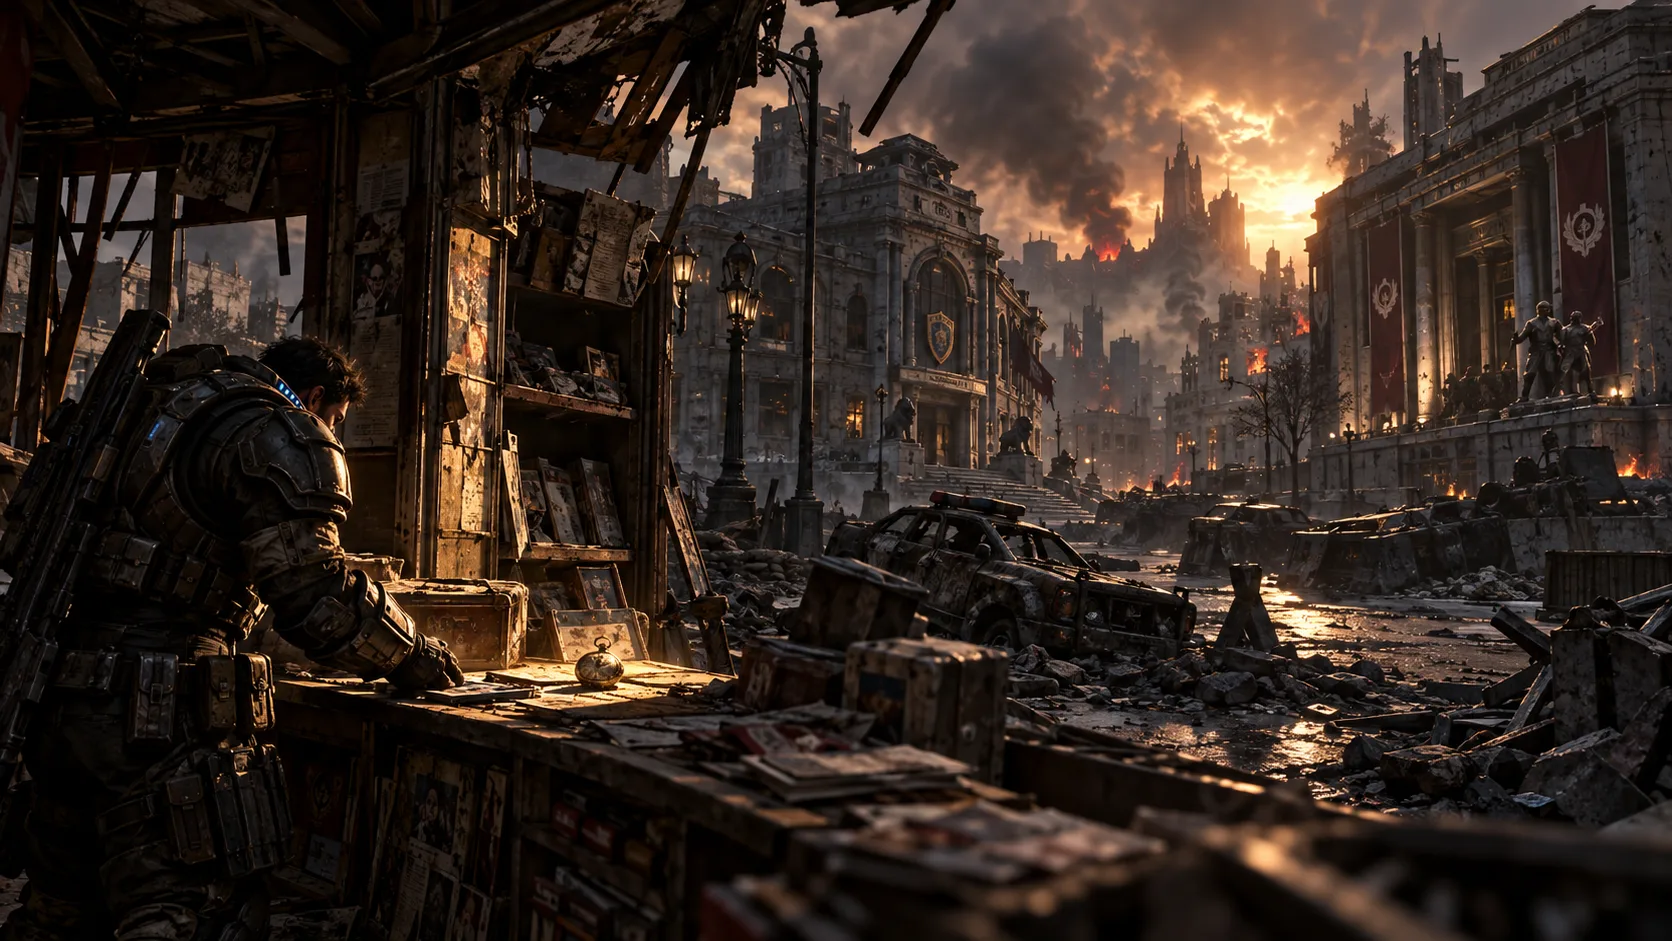
This is a standard-collectible checklist for Act 1 only. Two independently published routes agree on 13 items across four chapters. The landmark clues below are paraphrased from those guides; Game Guide Port has not independently played through every pickup. Item spelling should be compared with your game's language setting. Hard Cases and side objectives have different progress counters.
Chapter 1: Emergence — 3 items
- Monster Jaw: after the opening street fight, check the ground beside the newsstand before moving deeper into the city.
- Bloody Transit Worker's Helmet: in the maintenance tunnel, look into the left-hand side room shortly after the glowing Emergence Hole.
- Front Page of the Kalona Times: after helping the trapped civilians, enter the Café & Bakery and check its back kitchen.
Chapter 2: Survival of the Fittest — 4 items
- KPD Police Bulletin: search the left-side desks when you first enter the police station.
- Bloodied Police Chief's Badge: inspect the room with the Police Chief before leaving it.
- Army Recruitment Pamphlet: in the COG recruitment center, check the rear reception counter.
- Try On Pilot Helmet: inspect the helmet display next to the pamphlet's location.
Chapter 3: A Gear in Need — 2 items
- Tomatoes, Canned: check the ground by a fallen person in the second Pay 'N Save loading-dock room.
- Broken Lancer Bayonet: after the supermarket fight and the chainsaw scene, inspect the fallen enemy close to Marcus before leaving.
Chapter 4: Back in the Fold — 4 items
- Front Page of the Tyran Chronicle: near the Bar & Lounge sign, take the short right-hand side route and check the newspapers.
- Anti-UIR Propaganda Poster: before entering Landa Medical, search the wall along the side route by the street.
- Landa Memorial Medical Supplies Memo: check the desk to your right before leaving the hospital.
- COG Tags of Private Brick Rosso: before entering Echo Park, inspect the fallen Gear beside the police car.
If your War Journal does not show 13/13, compare its chapter detail with this list first. The War Journal guide explains what to record when the summary count disagrees with detailed entries. Do not assume a displayed mismatch proves that an item is missing.
Sources
Continue in Gears of War: E-Day
Is Gears of War: E-Day on PS5? Current platforms explained
Check the official Xbox and PC platform list and what it does—and does not—say about a PS5 version.
Gears of War: E-Day release date and unlock time
Confirm the October 2026 launch date, worldwide unlock time, pre-load timing and historical Premium early access.

Gears of War: E-Day on Game Pass and Xbox Play Anywhere
See which Game Pass plans list E-Day and how Xbox Play Anywhere affects Xbox and PC purchases, saves and achievements.
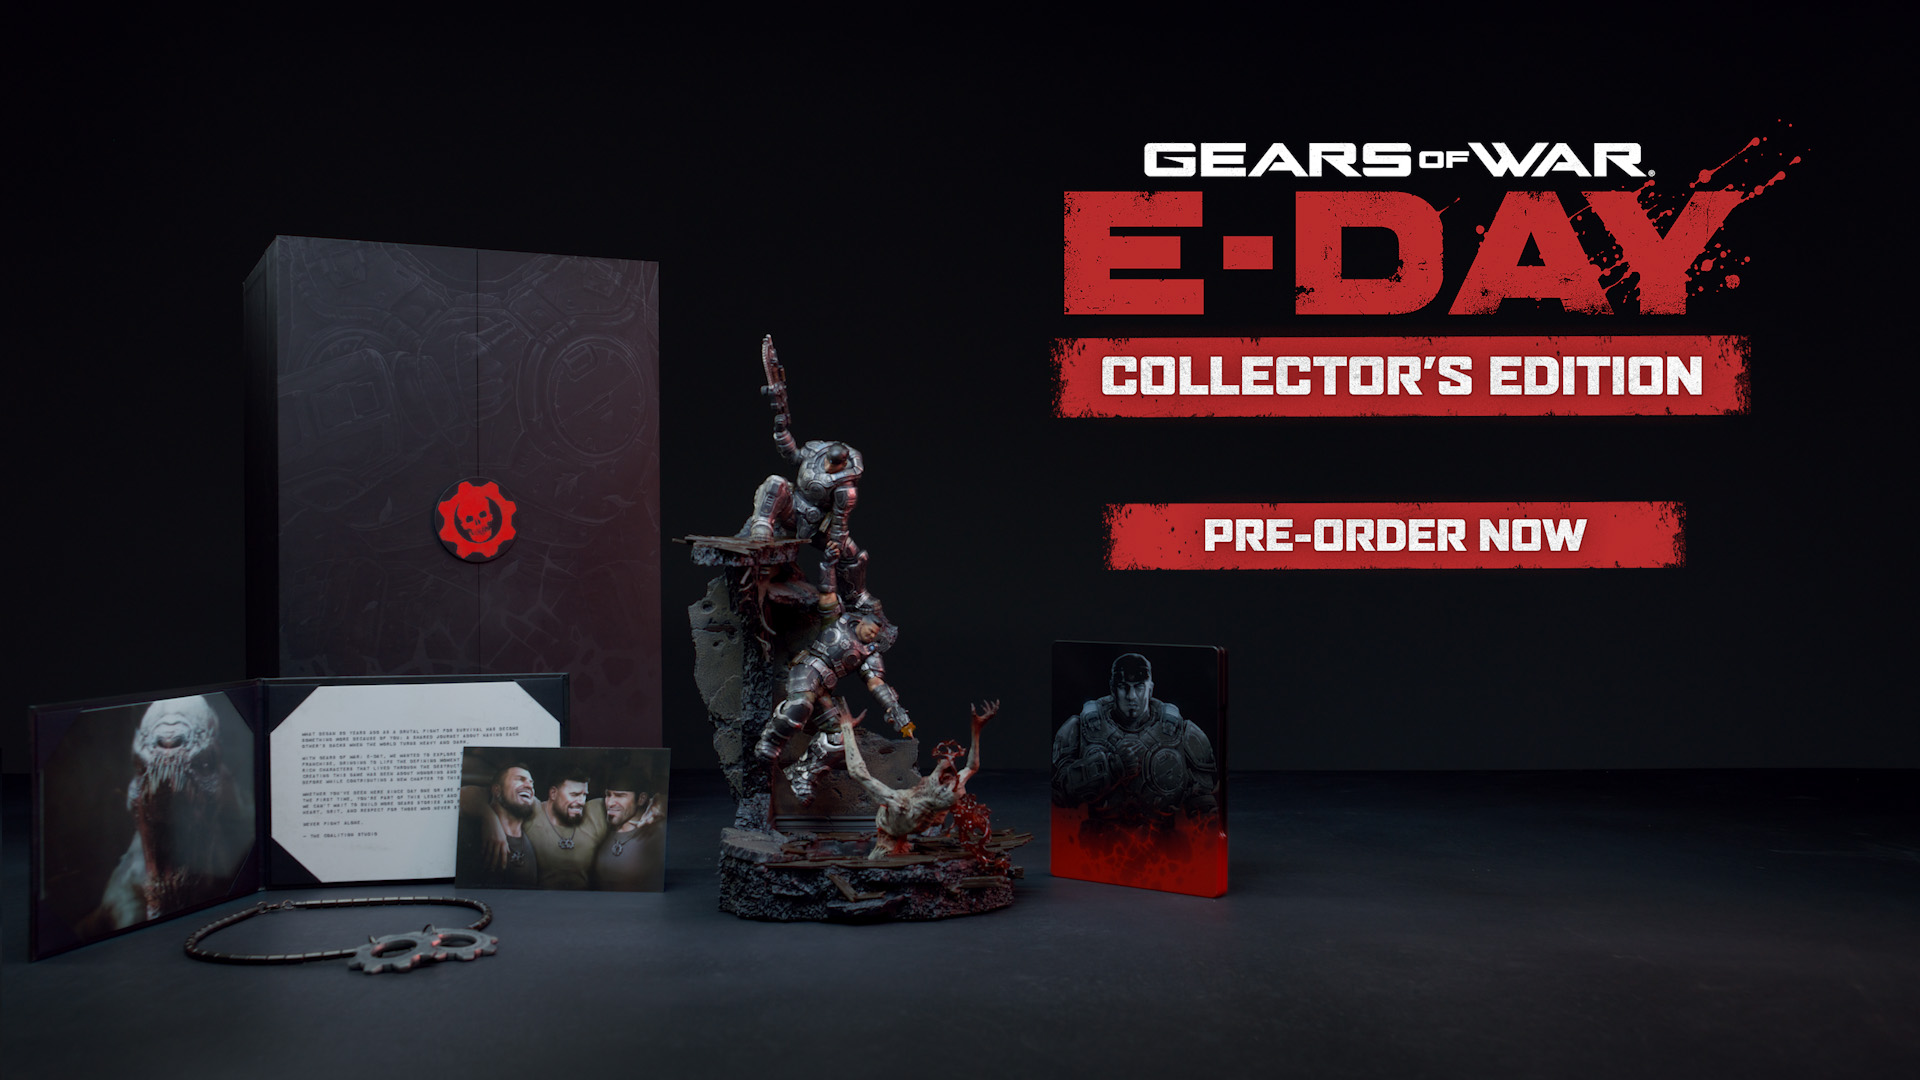
Gears of War: E-Day editions and Collector’s Edition
Compare Standard, Premium, the Premium upgrade and the physical Collector’s Edition without treating launch benefits as current.
Gears of War: E-Day review roundup
Compare attributed media reactions and understand why review scores and platform impressions may differ.

Gears of War: E-Day controller and charging dock
Identify the Limited Edition Xbox Wireless Controller, Design Lab option and matching 8BitDo charging dock.

Gears of War: E-Day crossplay and account linking
Separate cross-platform multiplayer, optional account linking, roaming saves and Xbox Play Anywhere licensing.
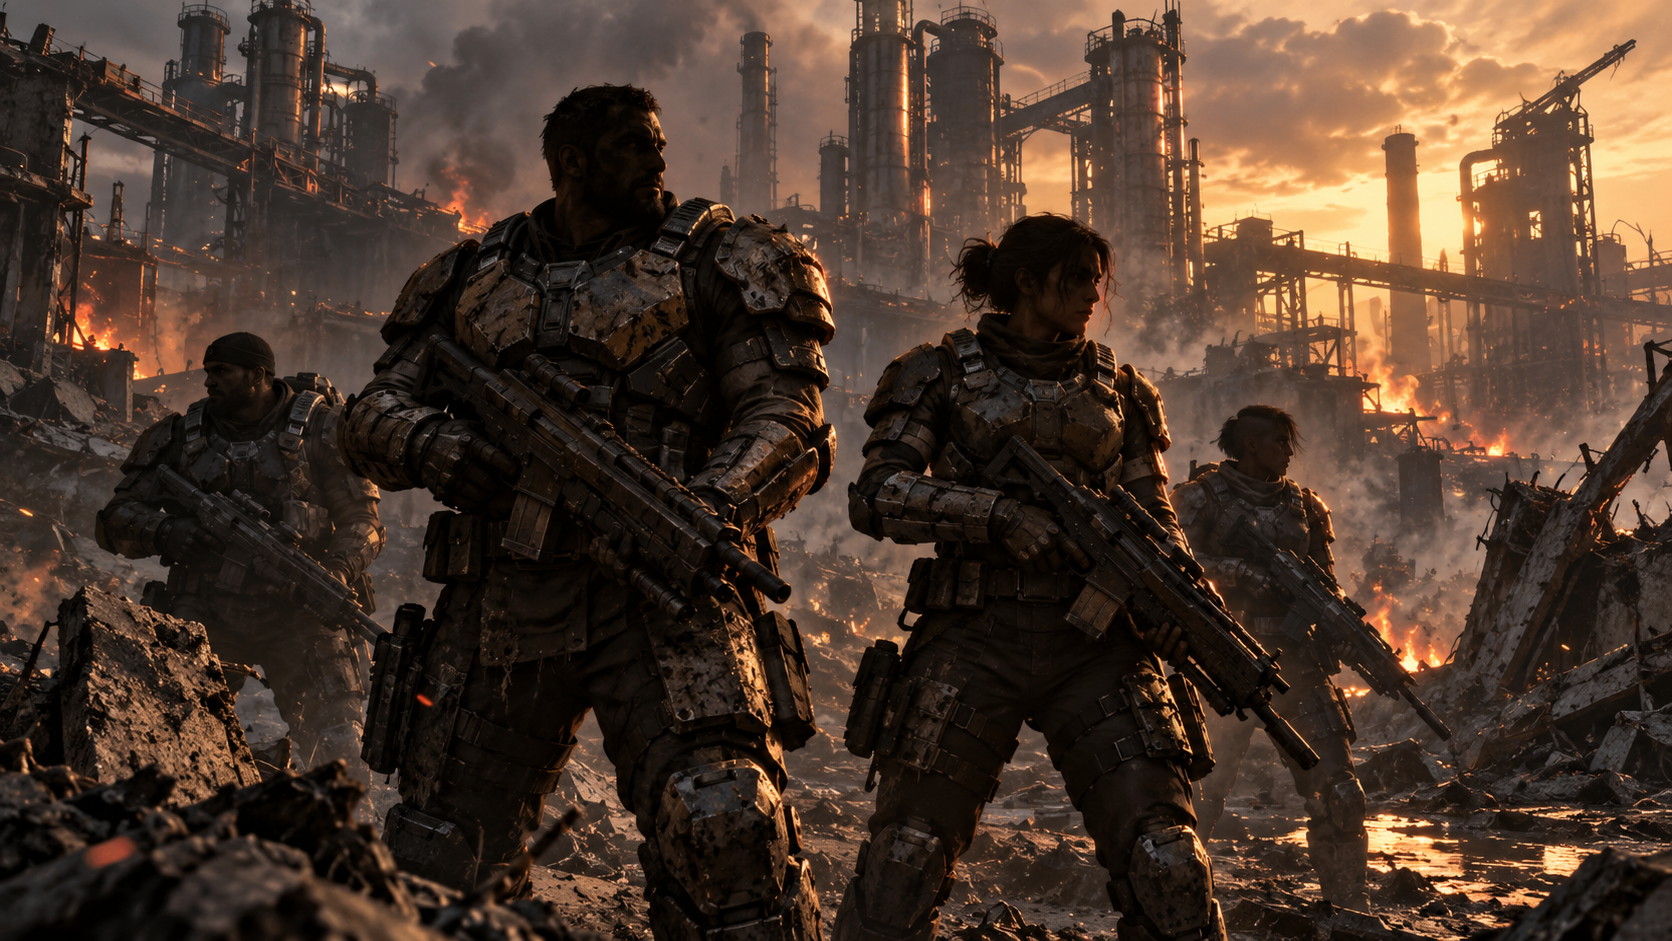
Gears of War: E-Day characters and Bravo Squad
Meet Marcus, Dom, Mags Carter and Lucas Reyes, and understand the loss that shapes the squad.

Gears of War: E-Day story, timeline and Kalona setting
Place the prequel fourteen years before the original game and follow Kalona’s fall across three days.
Gears of War: E-Day co-op and split-screen explained
Separate console split-screen from online campaign co-op and identify what remains unclear for mixed parties.

Gears of War: E-Day campaign length and acts
See the confirmed five-act structure and how to interpret reported completion times.
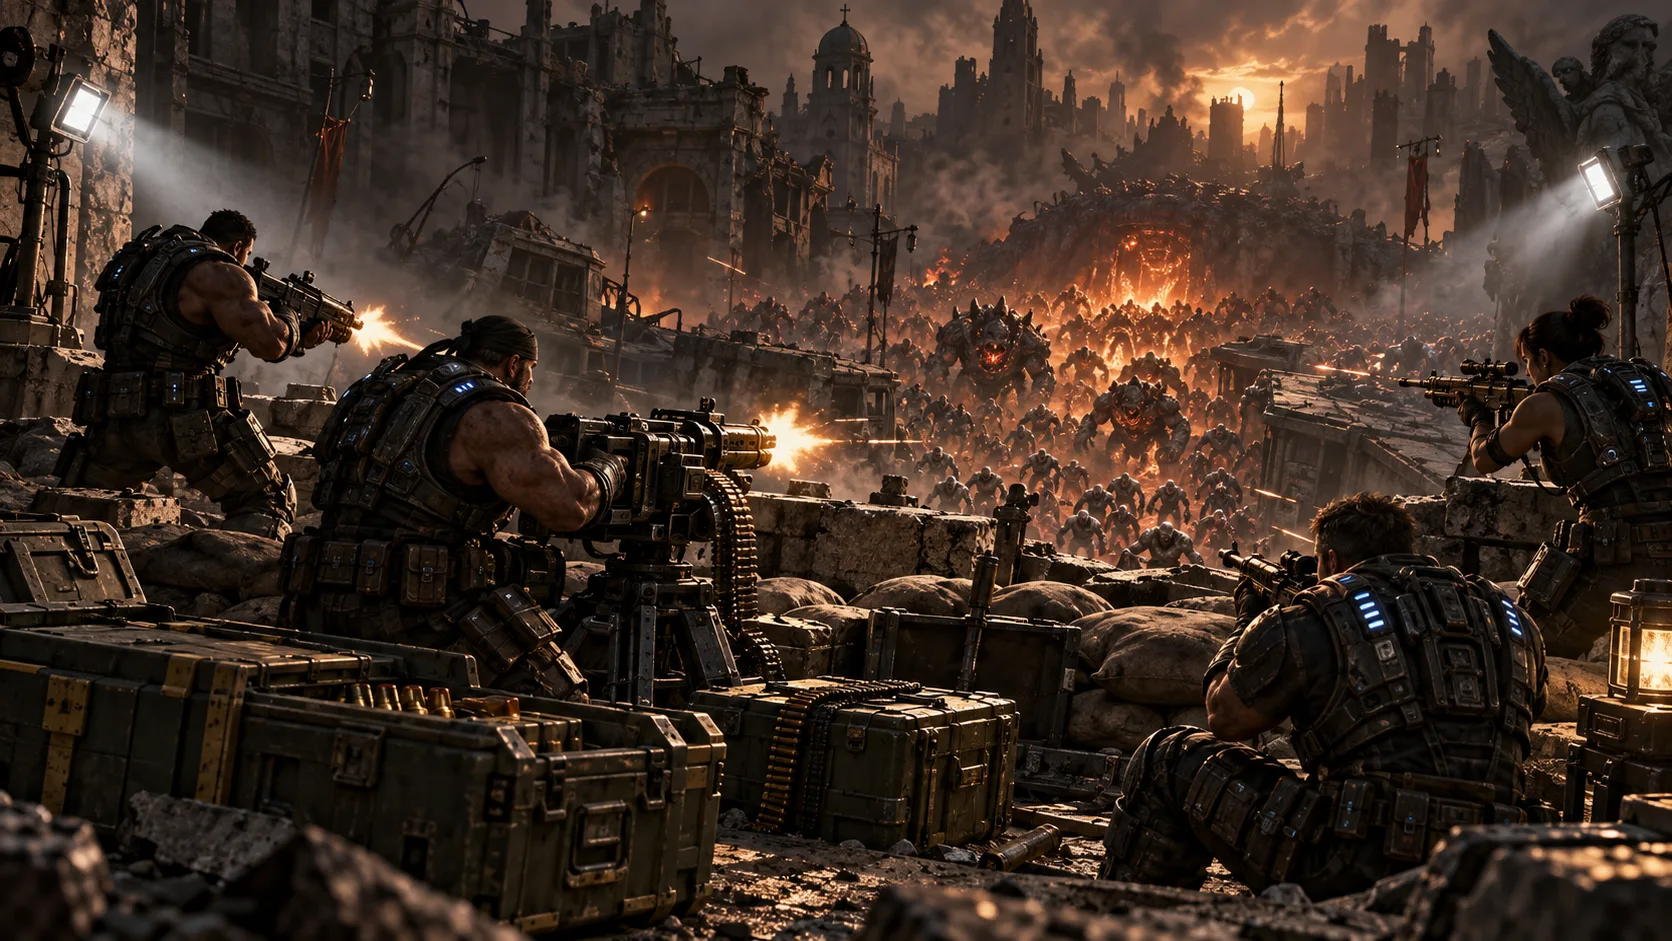
Gears of War: E-Day Horde Siege modes and classes
Understand Blitz, Siege and Horde missions, the four launch classes, Energy and turret rules.

Gears of War: E-Day PC requirements and storage
Compare the official minimum and recommended CPU, GPU, RAM and SSD requirements.
Gears of War: E-Day achievements and campaign completion
Plan campaign completion around acts, co-op, side objectives, Hard Cases and collectibles.
Gears of War: E-Day collectibles and War Journal tracking
Keep collectibles, Hard Cases and side objectives separate, and handle reported progress mismatches cautiously.

Gears of War: E-Day PC stutter and crash checks
A source-based checklist for checking requirements, updates and support before trying risky fixes.